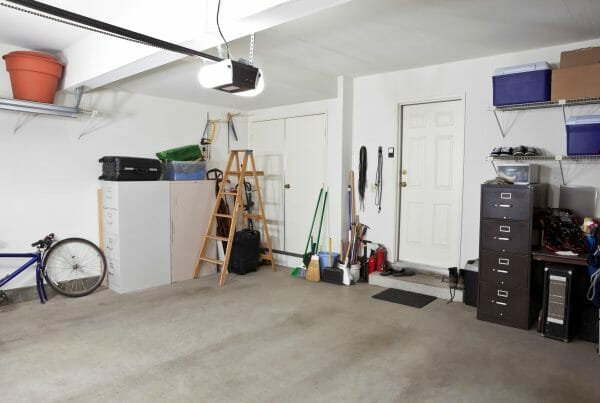
Your garage door rollers ensure that your garage opens and closes smoothly, it’s therefore really important to keep them in good condition by lubricating and cleaning them regularly.
If your garage door rollers do break or wear over time, there’s no need to panic- replacing them is fairly straightforward with the right tools and guidance.
What You’ll Need
Replacement Rollers
Clamps
Large flathead screwdriver
Locking pliers / A helper
Safety
It’s a good idea to have another person present to give you a hand where needed. Also, there are a lot of moving parts to a garage door, you should also wear safety gloves and goggles to avoid any pinched fingers and protect your eyes.
What To Do
1) Begin with your garage door fully open, fix the clamp to the track roughly two-thirds of the way along the opening.
2) Release the door from the electrical opener by pulling the release chord (this is usually red). To ensure the utmost safety you should then unplug your garage door opener from the socket.
3) Using a pair of locking pliers, bend approximately two inches of the track open towards the top, but be careful not to bend too far.
4) Bring the door down and align the bottom roller with the section of the track you opened previously.
If you have more than one pair of locking pliers it’s a good idea to fix them above and below any rollers that you aren’t working on, this will prevent the door from moving as you work. If not, ask your helper to keep the door steady.
5) Using the flathead screwdriver pry the bottom roller out of the track, remove the old roller, and replace it with the new one. You can then slot the roller back into the track and repeat the process with the next one.
6) Having replaced all of the bottom rollers, you’ll find yourself unable to replace the top ones, as they won’t align with the opening that you created earlier in the track. So bend the track back into place and open the door once more.
7) Next, bend a section open in the centre of the overhead track. Make sure that you have somebody watching to ensure that the door doesn’t slip, as this could cause serious head injuries.
8) Using the screwdriver, pry the remaining rollers out using the above process and replace them.
9) Bend the track back into its original shape.
10) You’re now ready to remove the clamp and test the door! Plug the electronic door opener back in and press the button that controls the door. The opener should then re-attach itself to the door.
11) Close your garage door and watch to ensure that the tracks are aligned properly.
Seek Expert Advice
If you need to realign the tracks a little, loosen the bolts on either side and use your screwdriver to help adjust. It’s also worth checking for any loose bolts whilst you’re there, as these can move over time. Tighten them to ensure that everything runs without a glitch.
If you do struggle with any of the above steps, you should consider calling in professionals like SDM garage Doors. Get in touch with the team today.