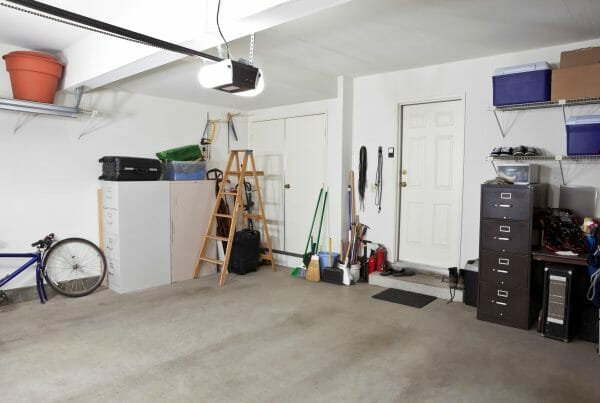
You often open your garage door several times in a day, particularly if you use your garage for storage as well as parking your car.
Garage door sensors are designed to prevent the door closing. They are located at ground level on either side of the garage door and generate a low voltage beam that completes an electrical circuit when the door is opened. If one sensor does not receive the beam emitted by the opposite sensor, the circuit will be incomplete the door won’t close.
If you have an automatic garage door, it’s essential the sensors function properly to keep the door working as it should. It’s easy for garage door sensors to become knocked out of place or damaged, meaning the door won’t open or close.
Are the garage door sensors damaged?
There are some straightforward steps to follow to identify if your sensor is damaged.
First, identify if the sensors are dirty, as this will prevent them from working properly. Gently remove any visible dust or dirt, then try to operate the garage door. If this doesn’t work, the fault could be electrical.
Garage door sensors have to be aligned with each other and correctly connected to the garage door mechanism in order to work properly. Issues with sensors are often due to:
- A poor connection
- Incorrectly connected wires
- A short in the wires
To identify if the issue is electrical:
- Check for any incorrectly connected wires between the garage door opener and the sensors
- Check the wires are correctly connected on the garage door opener
The amber LED light on the sensor will remain visible regardless of alignment or obstruction. If the green LED light is dim, flickers or fails to show completely and the invisible light beam is not obstructed, you will need to realign. If you have not solved the problem with the garage door sensor through these checks, you should check the sensor wires:
- Remove the sensors from the brackets
- Remove the sensor wires
- Strip the ends of the wires and twist the matching coloured wires together
- Take the sensors to the garage door opener motor unit
- Remove the wires from the white and grey terminals on the back of the unit
- Attach or insert the white wires into the white terminal and the black and white striped wires into the grey terminal
- Point the sensors towards each other – if the LEDs on both sensors turn on, the fault is in the wiring. If the LEDs do not turn on, the issue is with the sensors, which will need to be repaired or replaced
Realigning your garage door sensors
If you have identified that your garage door sensors need to be realigned, simply:
- Switch off the power to the garage door
- Loosen the screws that hold the sensors in place, but do not remove them fully
- Slide each sensor down as far as possible
- Tie a piece of string to the sensor so if it is pulled across the garage door opening, it will run across the middle of the sensor
- Run the string to the other sensor and tie in place, ensuring it is level
- Once the string is level, tighten the screws to hold the sensors in place
- Remove the string
- Switch the power back on
If you’ve tested the sensors and the garage door is still not working as expected, get in touch and our team of experts will be happy to help you.